For my imaging setup I use three heat strips to control dew. The 4-Channel Orion Dew Controller I used for a few years went bad, so I decided to build a 3-channel unit using a PWM controller sold on Ebay. The PWM controller is sold for controlling LED light strips. It was very easy to mount it inside a Radio Shack project box and install female phono jacks for the dew strips along with a power cord for the battery.
These are the parts used:
Total: $24.64
The 3-Channel RGB dimmer is rated at 9 amps total or 3 amps max per channel. That is the same rating as my faulty Orion Dew controller.
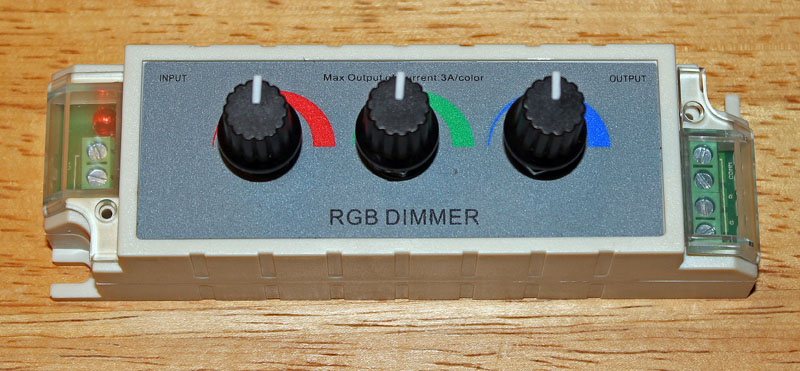
RGB Dimmer from Ebay:
The 12 volt power leads are on the left. There are four leads on the right: a common ground along with a positive lead for each of the three channels (R, G & B). The terminals are screw type.
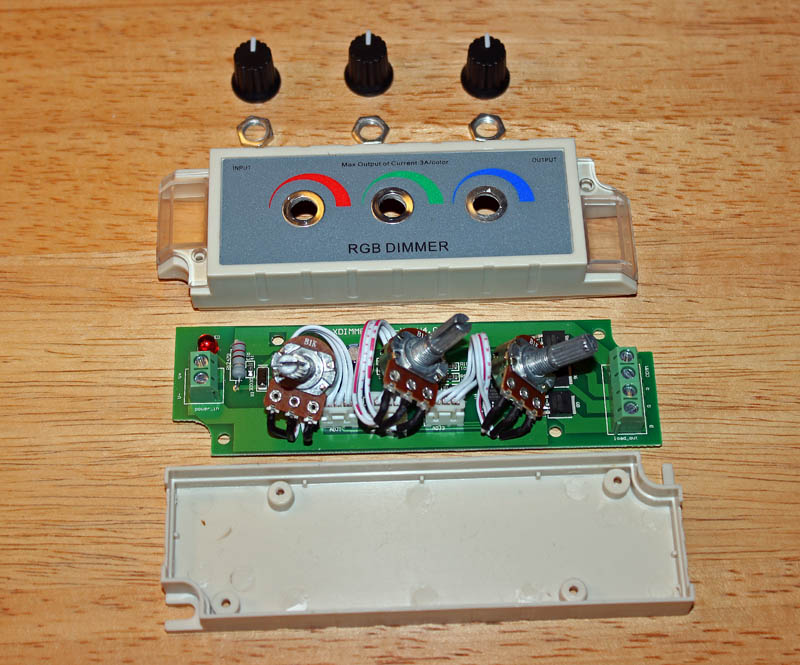
To disassemble the Dimmer, pull off the control knobs and remove the potentiometer nuts. Remove four screws to take apart the enclosure and remove the circuit board.
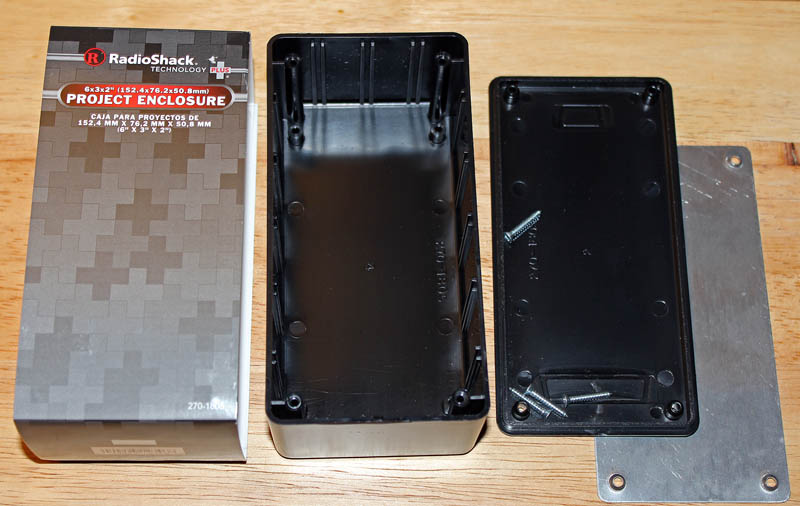
This is the project box used from Radio Shack to house the circuit board:
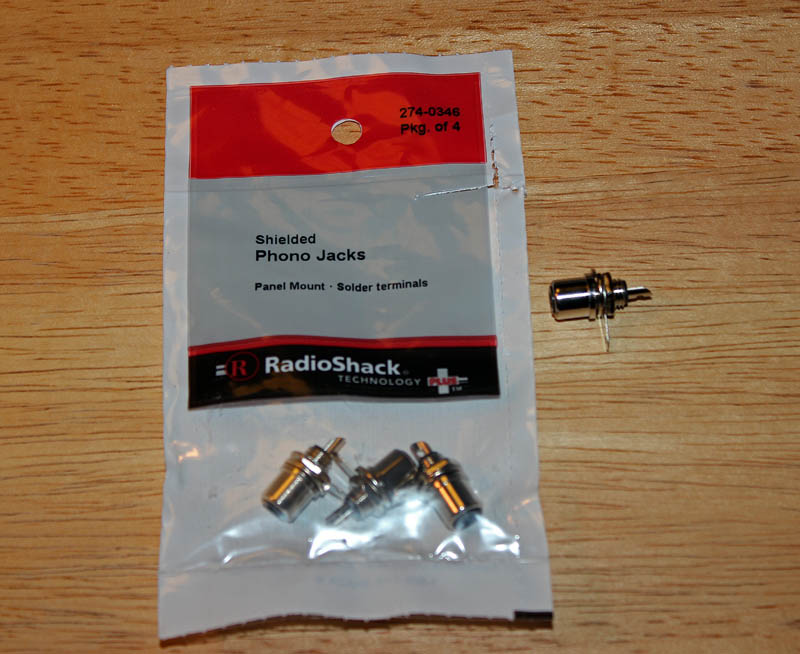
These are the female Phono Jacks used from Radio Shack:
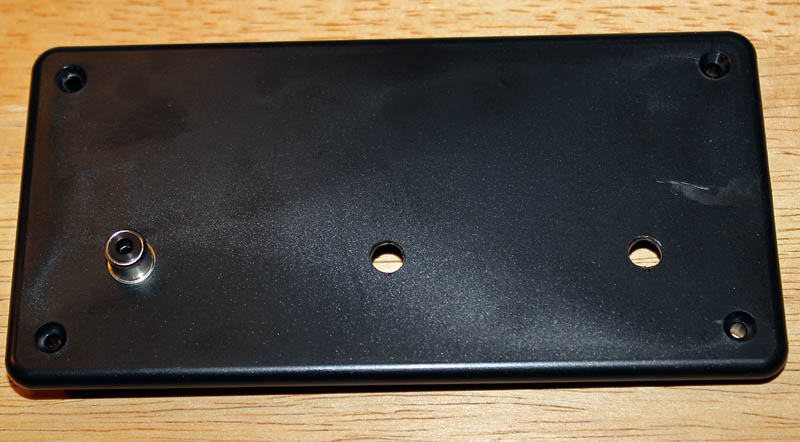
Drill three holes for the potentiometers:
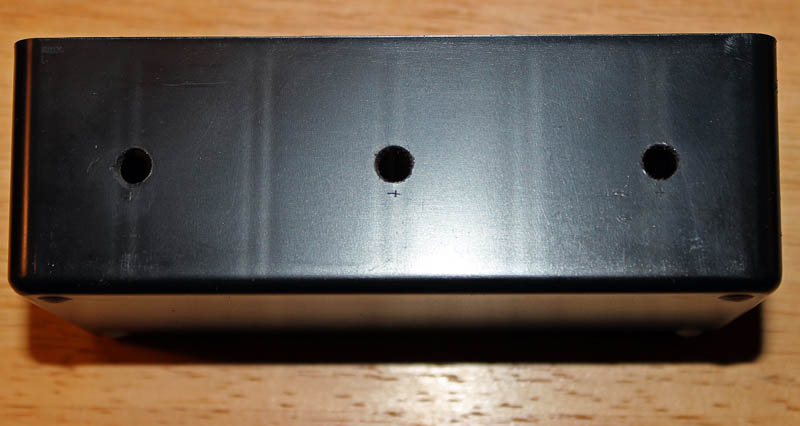
Drill three holes for the Phono Jacks:
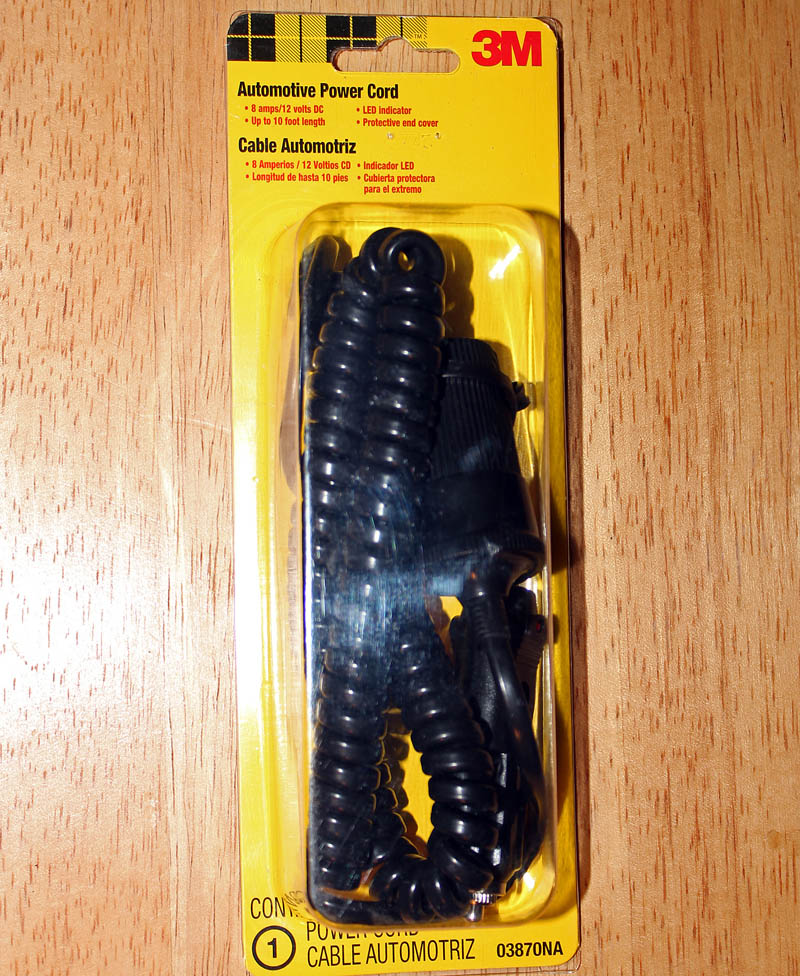
This is the 12 Volt Auto Power Cord from Walmart:
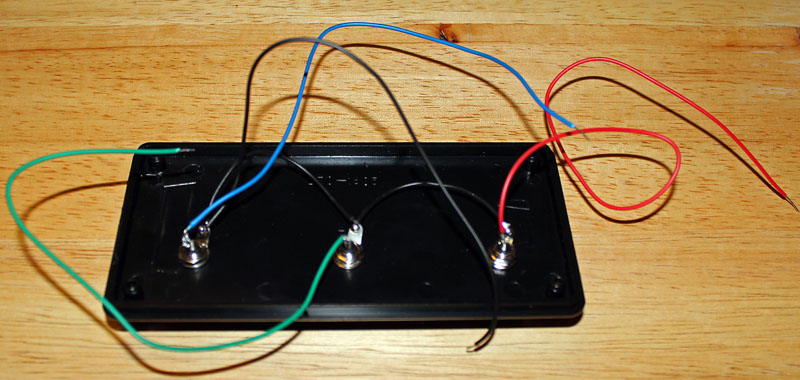
Solder wires to Phono Jacks. Black is ground and Red, Green & Blue are the positive leads for the three channels:
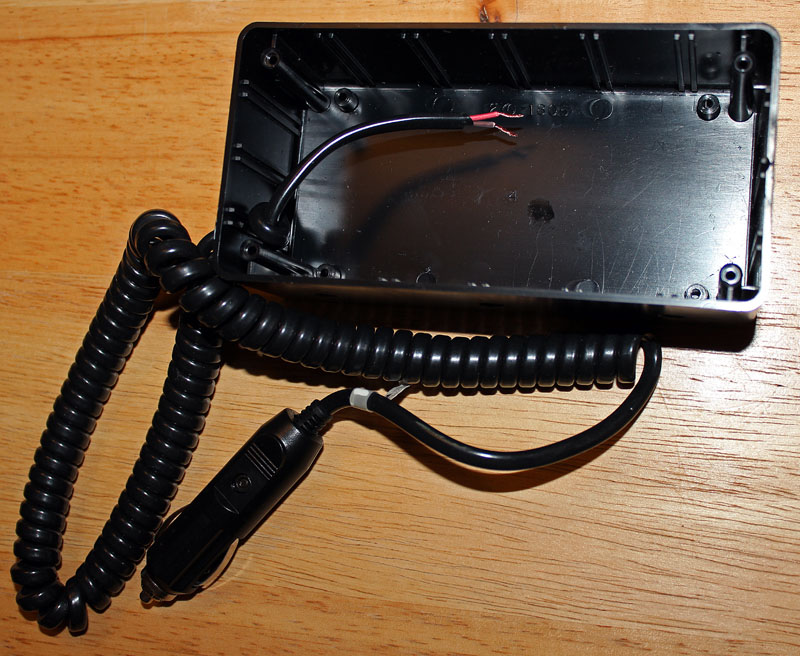
I cut off the female end of the Auto Power Cord, drilled a hole for it in the side of the project box and put a knot in it for strain relief:
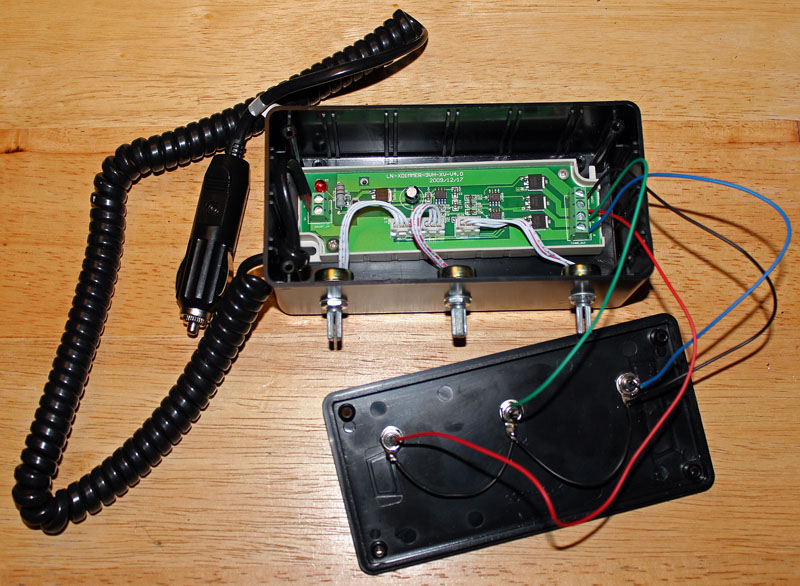
All wires are connected to the circuit board using the screw terminals:
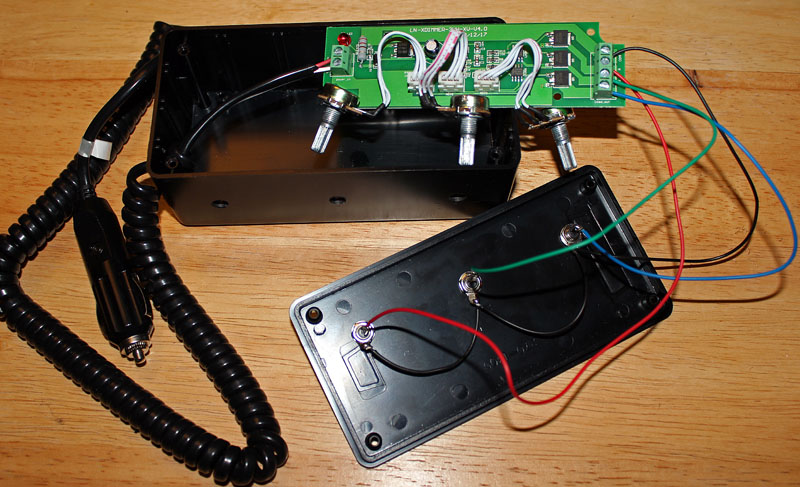
I used velcro to attach the circuit board to the bottom of the project box:
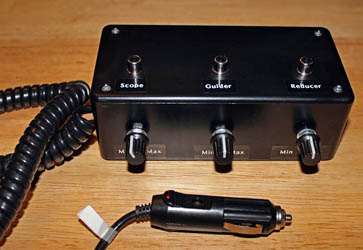
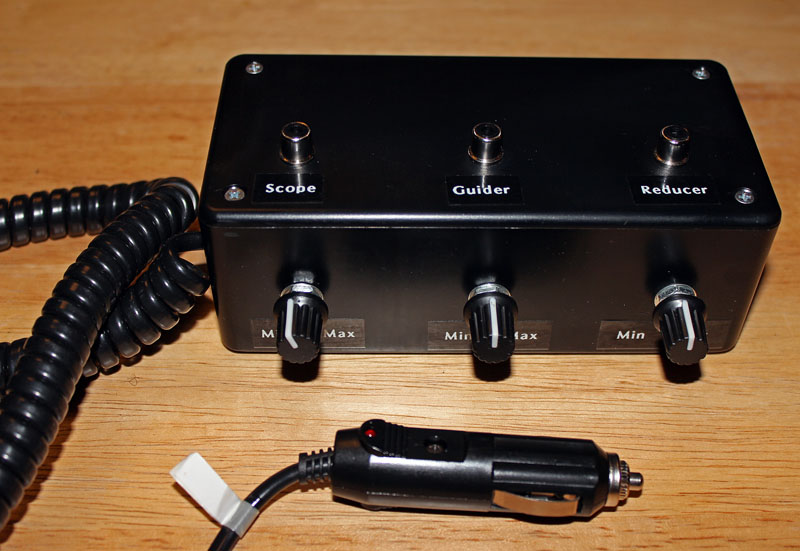
This is the completed dew controller with labels applied:
To my Home Page