Please see HERE for a description of tools needed, discussion of modification procedures in general and please read the disclaimer.
Opening the camera will void your Canon warranty and you may ruin your camera. Proceed at your own risk; I am not responsible for any damage to your camera or injury to yourself. The camera contains a high voltage capacitor that stores lethal energy for the camera flash. The flash capacitor maintains its charge for a long time even after removing the battery and this charge can cause dangerous injury or even potentially fatal electrical shock. These instructions detail how I as an electrical engineer do camera modifications. If you attempt to modify your own camera it is at your own risk and I am not responsible for any damage or injury. After I modified my 6D camera, it did not power up. I needed to send it to a Canon Service Center for repair. Canon repaired the camera and their service description was "Internal component was jammed causing no power. The internal component was repaired." I asked Canon if they could provide more detail, but they never answered.
Modification Steps:
Before beginning the modification disable the Sensor Auto Cleaning and remove the battery and SD card.
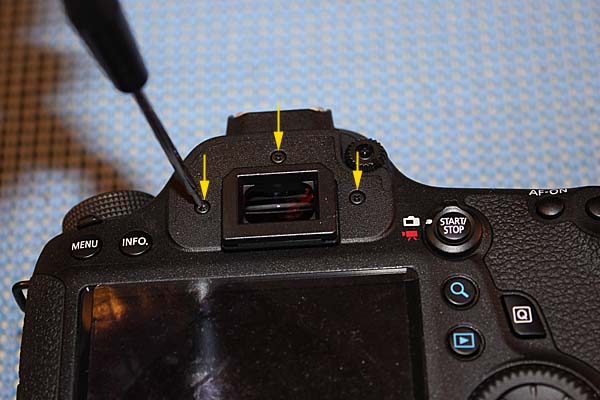
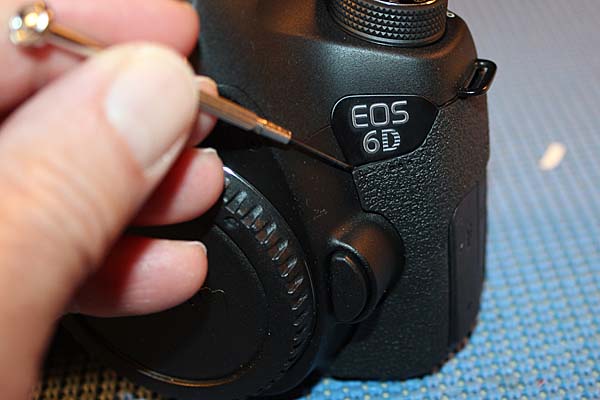
1. Slide the viewfinder cover up to remove it and remove three screws:
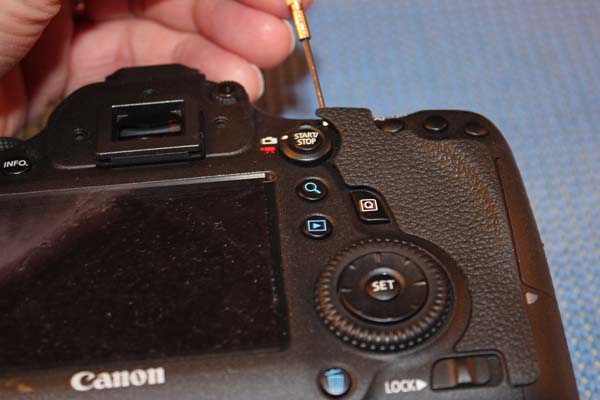
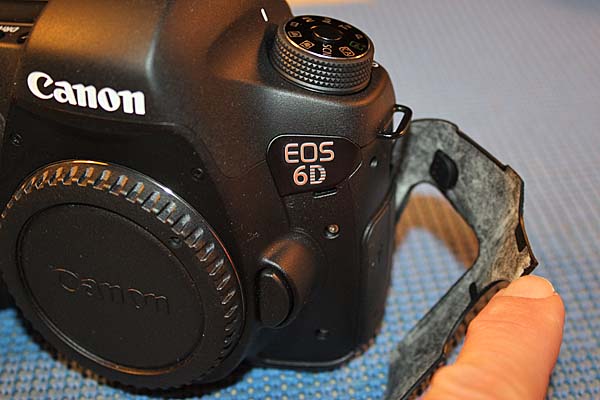
2. Insert small flat head driver under black grippy material on one corner, lift and remove it:
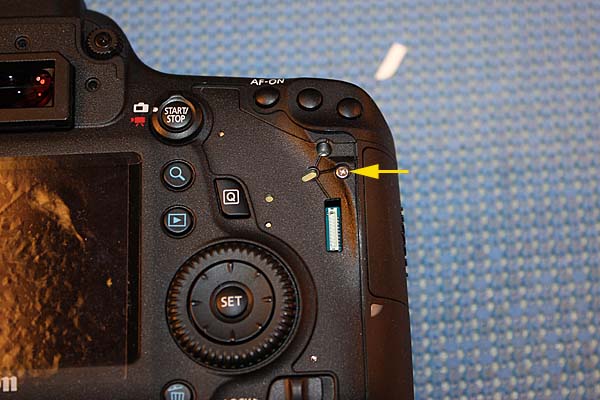
3. Remove one screw under rubber grippy material:
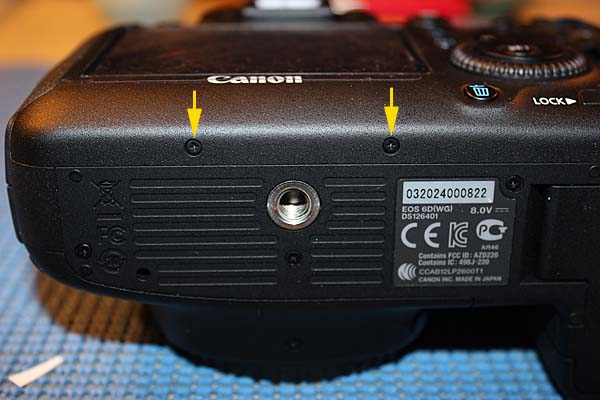
4. Remove two screws on bottom of camera:
5. Insert small flat head driver under front corner of side grippy material near ports and remove it:
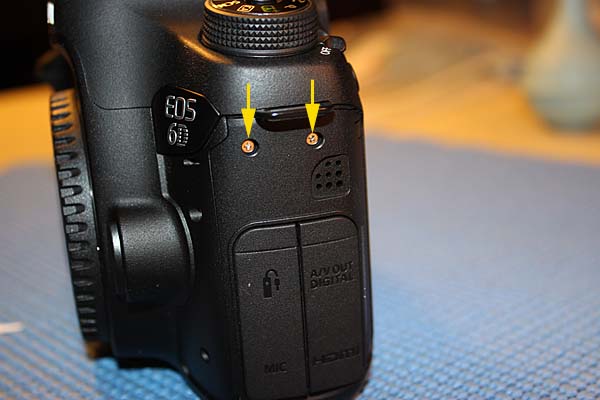
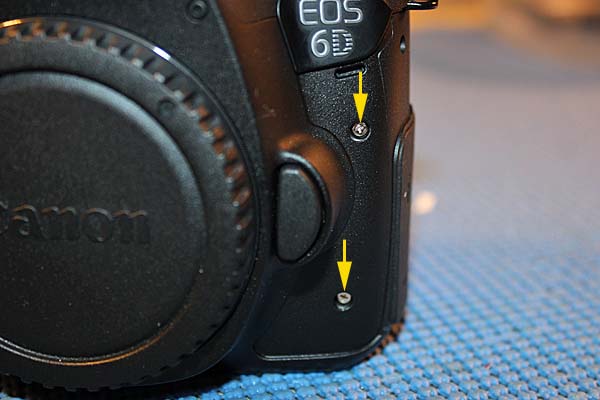
6. Remove two screws above ports:
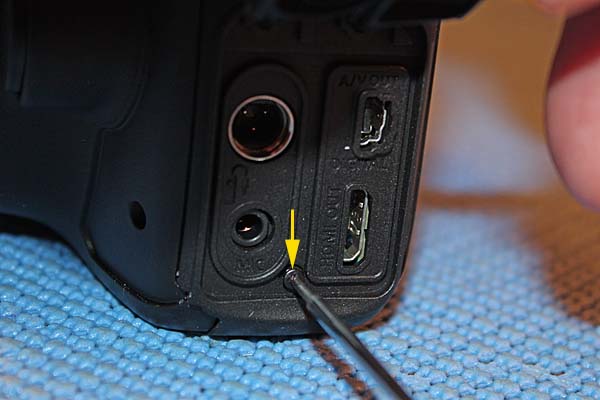
7. Remove two screws as marked in front of port:
8. Open port covers and remove one screw:
9. Remove black port cover on camera side as shown below:

Continue with steps on next page