Modification Steps Continued:
20. Remove two screws from front of camera grip:
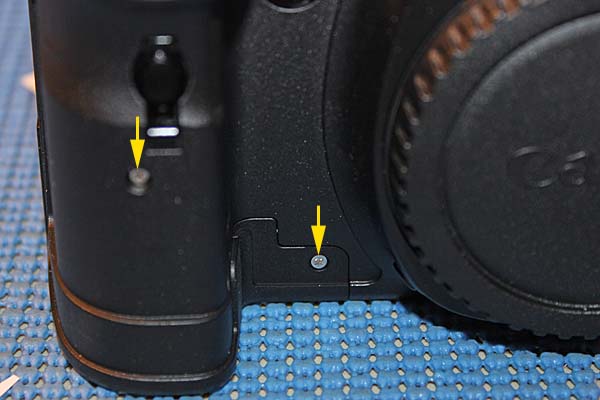
21. Remove one screw on camera top of the grip side by strap bracket:

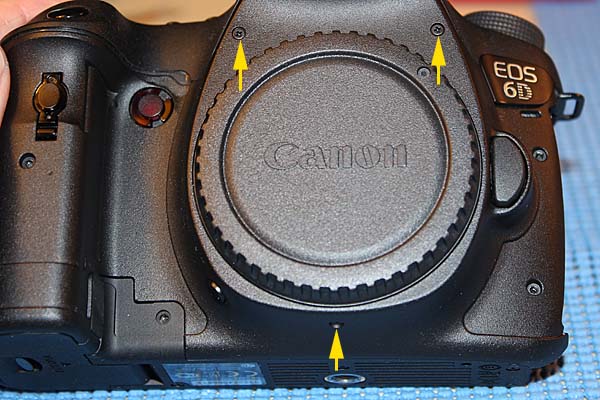
22. Remove three front screws. The two screws on top are long and the screw on the bottom is shorter:
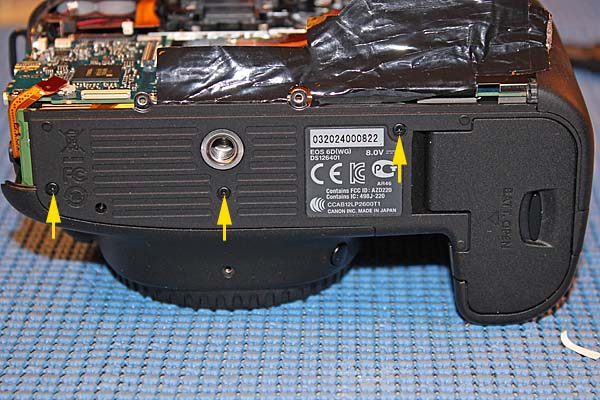
23. Remove three screws on bottom of camera:
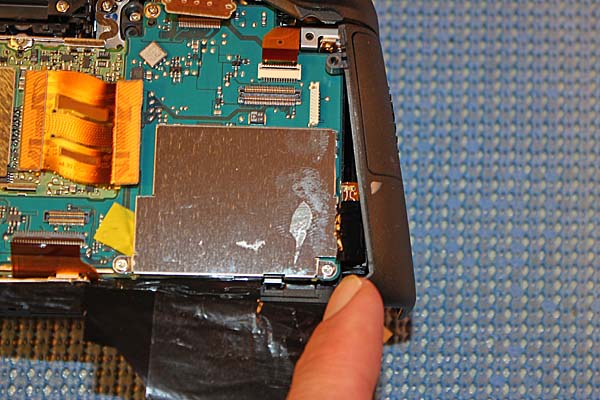
24. Push on lower corner of the plastic part that has the SD card door on it to make room for accessing a screw on the mainboard:
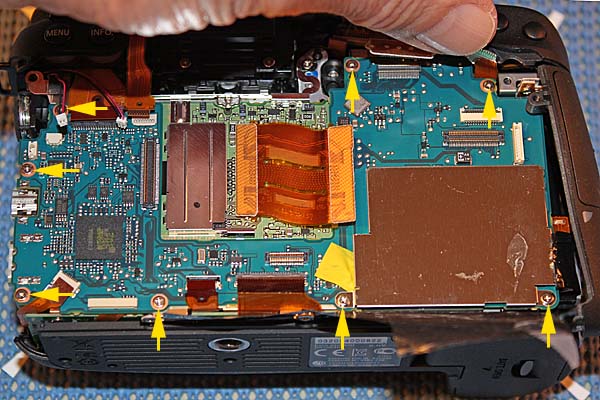
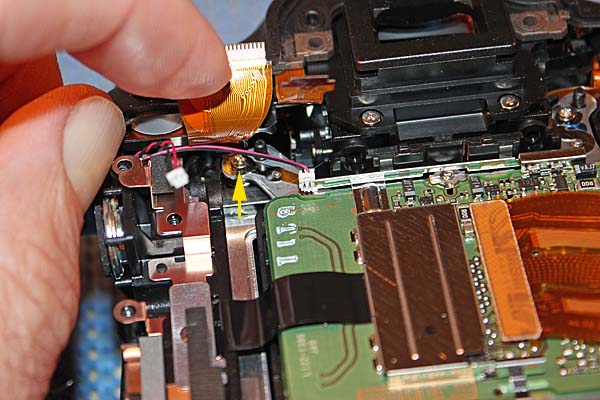
25. Remove 8 screws on mainboard:
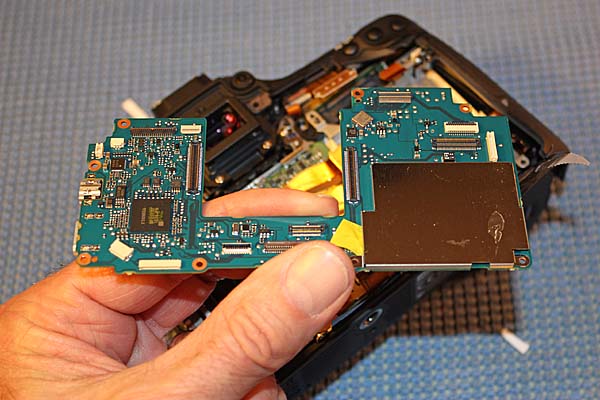
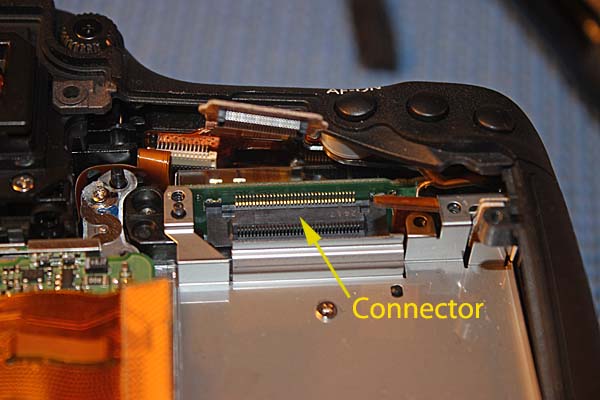
26. Remove mainboard by lifting it straight up and place in a sealed container. Note that there is a connector on the underside of the mainboard in the upper left that mates with a connector underneath, as shown in the second image below:
27. Remove shoulder strap screw near dial. This allows the top left corner of camera to be raised enough to allow access to a sensor adjustment screw:
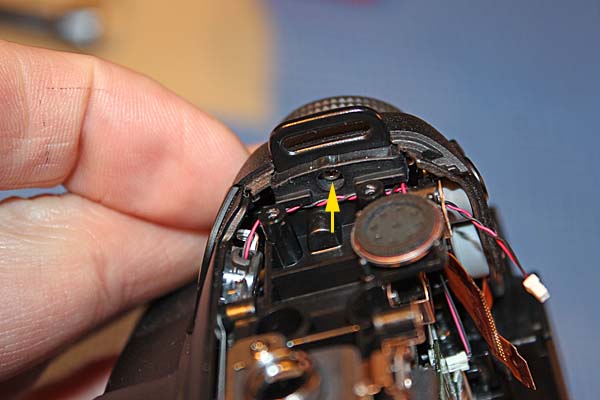
28. Lift plastic body up in upper left, just enough to get access to the upper left sensor adjustment screw, but don't remove the screw:
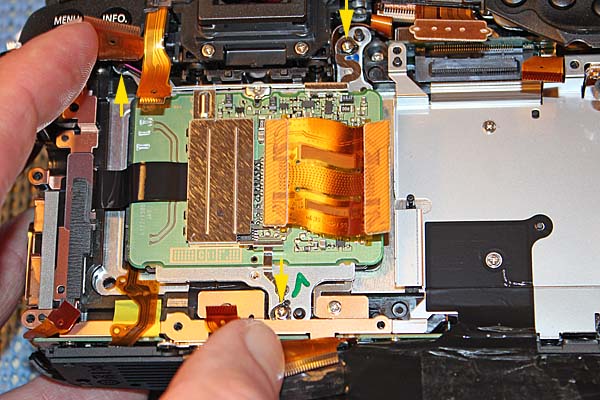
29. Clean black glue off of all three sensor adjustment screws:
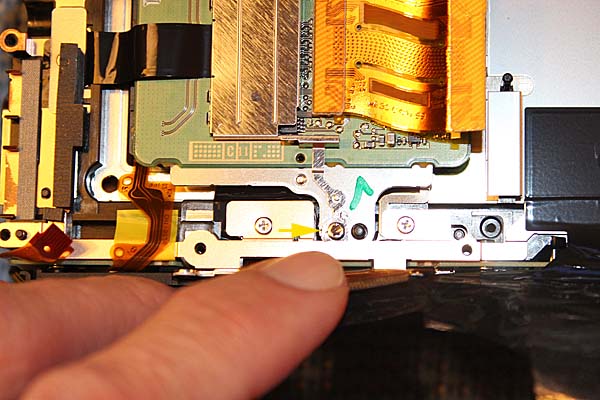
All three sensor screw locations:
Continue with steps on next page