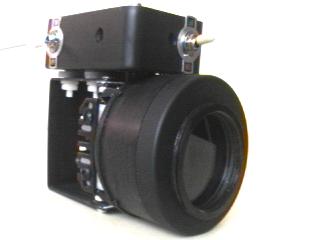
Cooled Greyscale Quickcam Project

I have completed assembly of a cooled greyscale quickcam. Cooling is by a peltier device and fan. The assembly steps with images are discussed below. Click on thumbnail images for larger images.
1. 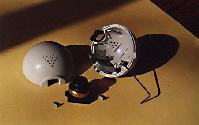 (click
for larger image) Opening the quickcam
The Logitech Greyscale Quickcam is easy to open as follows:
A. Insert allen wrench in small hole to depress a plastic tab.
B. With the tab depressed, pry two halves of the plastic shell apart.
C. Remove circuit board.
D. Unscrew quickcam lens from circuit board.
2. 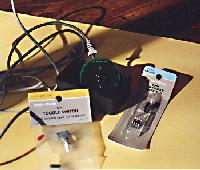 (Click for larger image) Circuit board, socket and switches
I choose to mount the quickcam circuit board in a 4 X 1 inch plastic project box by Radio Shack. It has room for the circuit board and a few toggle switches and connectors. The Texas Instruments TC-255 CCD chip needs to be desoldered from the circuit board. Click here for precautions on desoldering the CCD. An 8-pin low profile socket (RS #276-1995A) was soldered on the circuit board where the CCD was removed.
3. 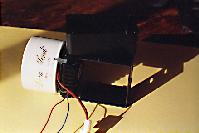 (Click for larger image) Main Components
The peltier device for cooling was obtained from http://www.mpja.com/product.asp?product=8688+PM
The fan designed for this unit was purchased from the same source. Both operate on 12 Volts DC. My wife was throwing away a plastic cosmetic jar with a screw on lid. It happened to be the exact size needed for the four metal hold down clips that are part of the peltier's heat sink. The cosmetic jar provides a small sealed area to maximize the cooling effect of the peltier device and to avoid dewing and frosting. I used a rectangular aluminum heat sink from an old stereo unit that I keep for spare parts. It serves in addition to the heat sink that comes with the peltier and also as a mounting surface for the plastic project box.
4. 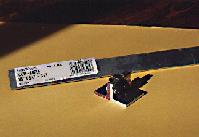 (Click for
larger image) Aluminum Angle Iron
A cold plate needs to be made for the cold side of the peltier on which to mount the CCD chip. I used 1/8 inch X 3/4 inch aluminum angle iron cut to size to fit the peltier and bolted together with two small bolts.
....Continued on page 2 - Click here