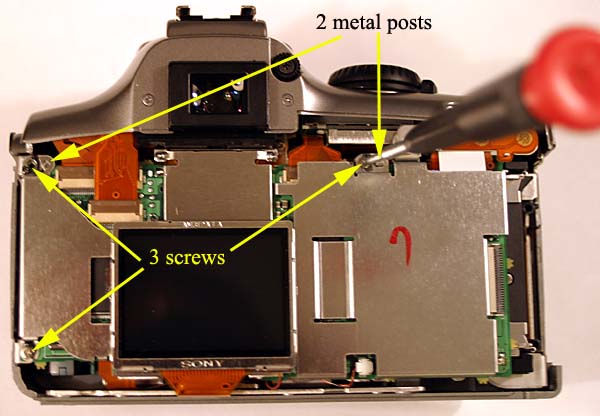
10. Remove three screws as labeled:
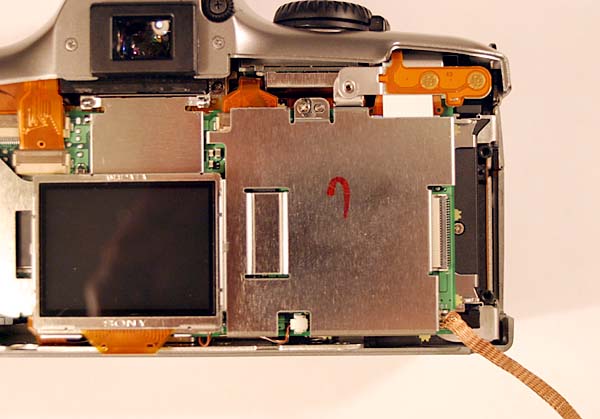
11. Desolder metal shield using solder-wick and soldering iron:
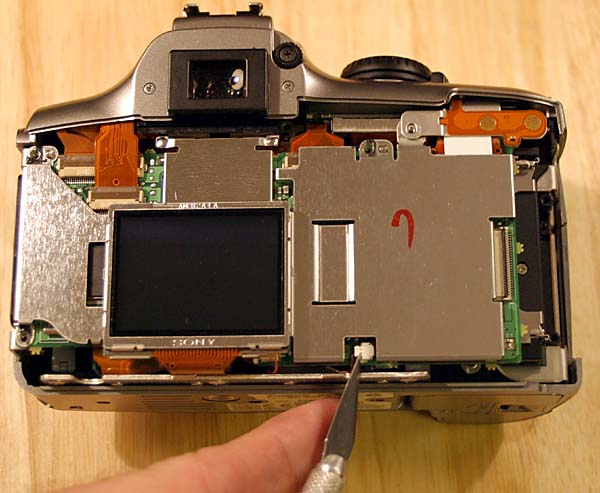
12. Use razor knife to disconnect the male to female connector for the LCD display power:
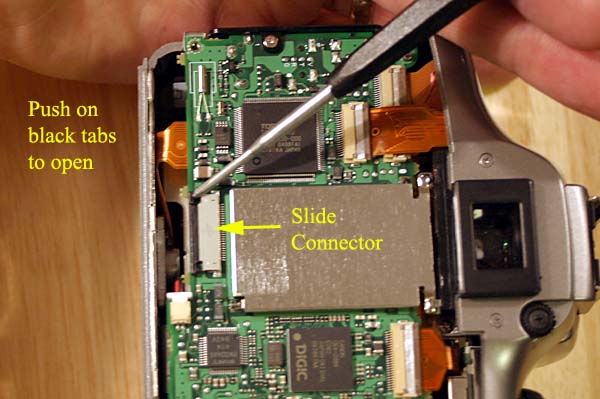
13. Lift the metal LCD shield carefully noting that the LCD has a short ribbon cable still connected to the circuit board below. The ribbon cable from the LCD goes to a connector that is not a "hinged type" connector. Instead, it is a "slide connector". To release this ribbon cable push on the two black tabs at each end of the connector in the direction toward the bottom of the camera with a small jewelers screwdriver, then pull the ribbon cable out of this connector.
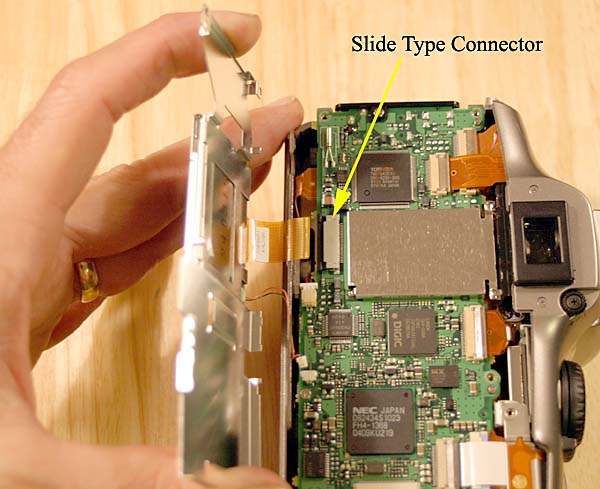
This is where to push the slide connector to release the cable:
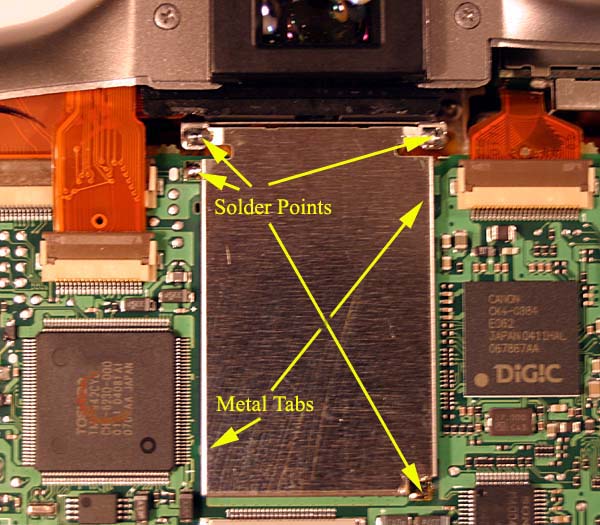
14. Use solder-wick and soldering iron to desolder metal shield at four locations. Be careful not to harm ribbon cable under top edge of the shield. After I removed as much solder as I could with the solder-wick, I applied a slight upward pressure to each corner of the shield as I touched the solder points with the soldering iron and each corner of the shield would "pop" up as the solder point was undone.
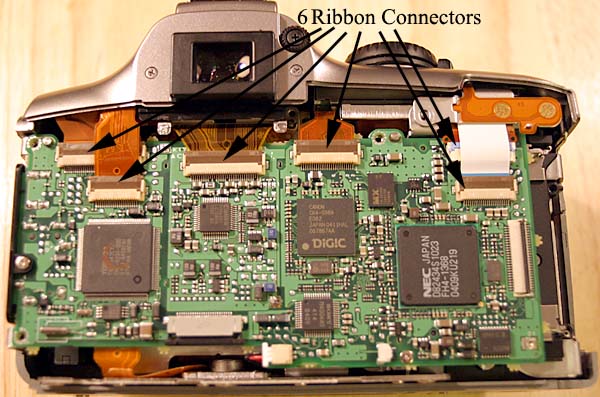
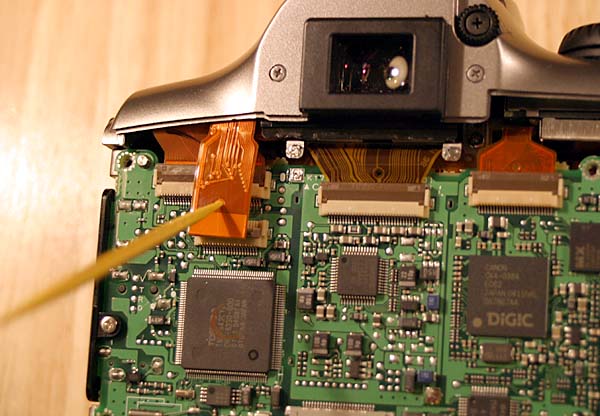
15. This is a photo showing the six ribbon cable hinged connectors that need to be opened:
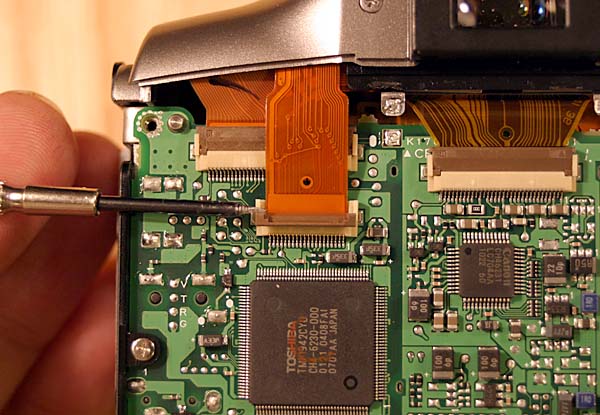
16. Hinged connector being opened with jewelers screwdriver:
17. Release ribbon cables from five ribbon cable "hinged type" brown and tan connectors on top of board as shown above (No. 15), saving the sixth connector located under the "white" ribbon cable for last. Can use toothpicks to slide the cables out of the connectors once the hinged connectors are released.
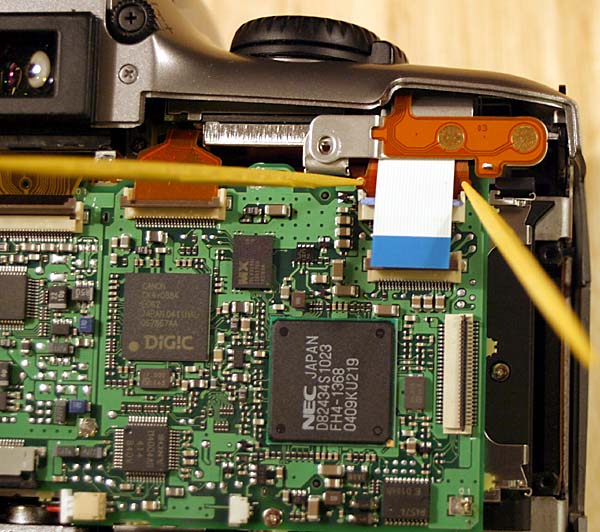
18. A blue and white connector is located under the white ribbon cable released in previous step. This sixth connector is also a hinged type connector. Use a jewelers screwdriver to pop up the blue hinge to release the ribbon cable and remove it from the connector by using two toothpicks in the ribbon cable holes. Push cable way back and upward to release from connector and bend it back along with the white ribbon cable to reveal a screw.
Note: Daniel McCauley reported that his blue and white hinged connector was difficult to open. A piece of the latch broke off for him but the connector still worked. I did not have that problem with mine.
Continued on Next Page (Page 4) - Disassembly of Camera Continued